An efficient method for checking occlusion

With the changes that have come about with the 4.0.3 update, there is a way to quickly see where your thin spots are in your restoration. We all want to make sure that our restorations are thick enough, and making sure we have a minimal thickness on the occlusion is part of that.
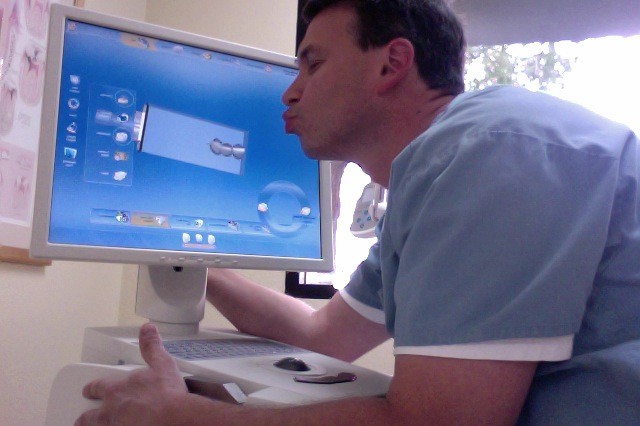
Previous to the new update, we had to turn on Cursor Details, which would give us minimal thickness in the central fissure. It was a slow and it was not always the most accurate. If you dragged your cursor over the central groove, there were places that were thinner than what was being displayed as the minimal thickness. Also, if the thin area was not in a part that the software considered the central groove, it would not register the lacking portion of your restoration. This was very common on upper molars in the occlusal lingual groove.
Now with the ability to reset your minimal thickness parameter without a new proposal, you can quickly check our minimal thickness throughout our restoration. You start with your proposal. You can make whatever adjustments you want and then open up your local parameters for that restoration. You can change your minimal thickness occlusion parameter to whatever thickness you want. The minimal thickness will now show through the restoration. Now adjust the restoration to correct the areas in question. Using the two directional shape circular or the shape anatomical to raise the thin areas is the quickest way to accomplish this.
This method is quick and makes sure you have all of the potential thin spots taken care of. Just one more of the changes with 4.03 that makes our lives easier.