
CERECGuide - Fabrication Part 5

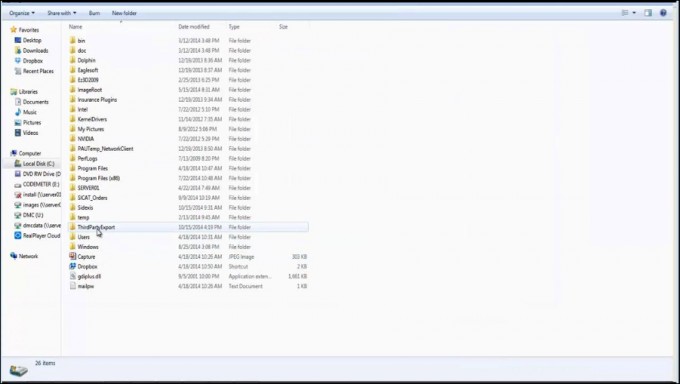
In part 5 of this blog we will discuss milling the actual surgical guide. Previously we discussed how to import the CAD/CAM file. Now that we have the implant planned and exported, we can find the file in the third party export folder on the :C drive. It is labeled with the patients name and time it was created. It will be a .dxd file type.
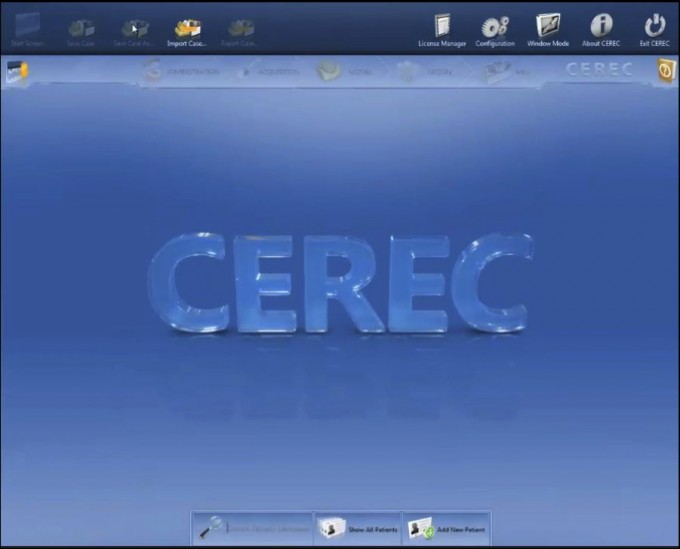
This is then moved to the CEREC AC unit. This can be done with either a thumb drive or wireless depending on your set up. Once the thumb drive or wireless transfer is complete, open the CEREC chairside software. Go to IMPORT CASE in the upper drop down menu.
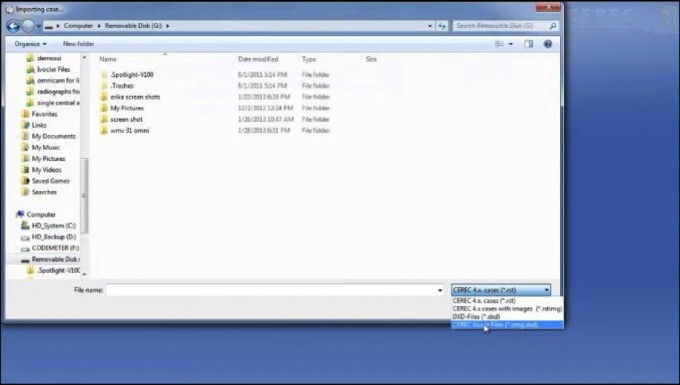
From here you will bring up a normal file browser. You will then go to the folder where the .dxd file was placed. It won’t show up initially. You have to change the browsing preferences to CEREC guide files.
The software will then upload the file and proceed to the MILL PREVIEW stage. There is no design stage as that has already been accounted for in the Galileos stage. The milled guide will be proposed.
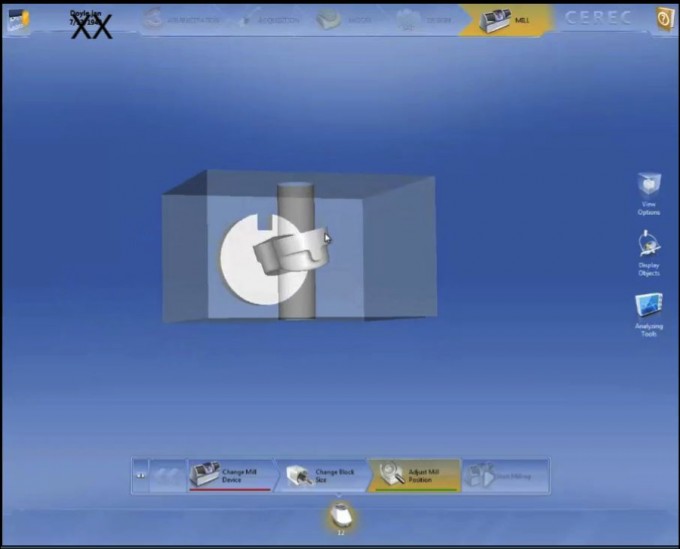
At this point the guide can be milled. It does require the use of size 20 burs instead of the standard 12’s that we use for chairside. The block will correspond to the size reference body that you used during the initial scan.
