
CERECGuide Fabrication Part 3

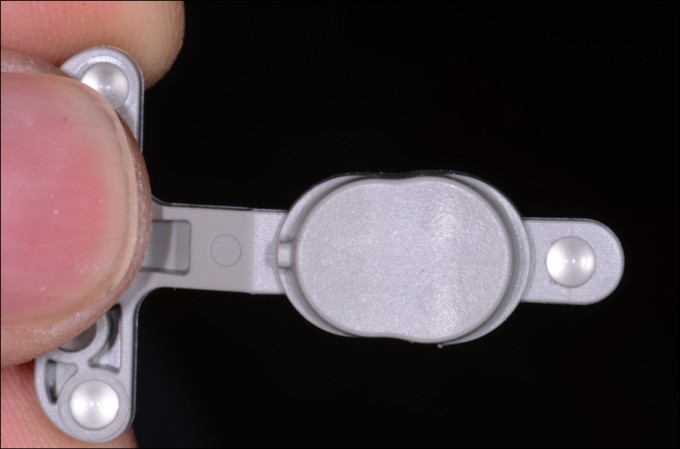
In Part 2 of CERECGuide fabrication, I discussed adapting the thermal plastic material to the Mach II model. Now let’s take a look at placing the radiographic reference body. If you look at the reference body you will see that there is a lip around the oval portion of the body.

There is also a notch on the end with the T shape and a bead on the shorter end without the T.
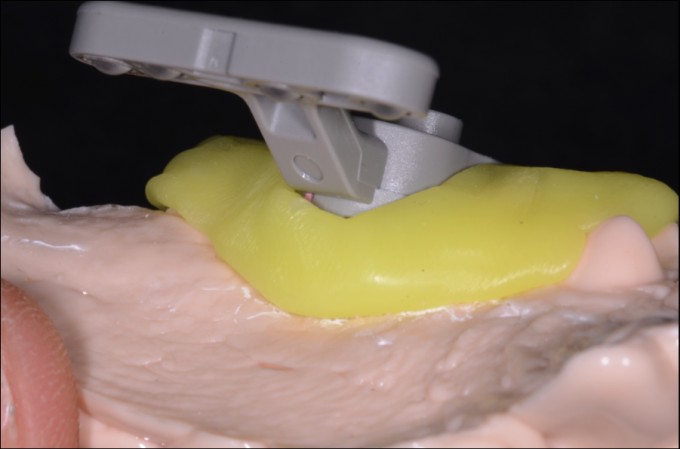
You want to make sure to submerge the reference body until the lip is completely covered with the thermal plastic. This insures that the reference body will lock into place and not move during imaging. It also gives positive seat to the milled guide and increase stability of the milled portion.
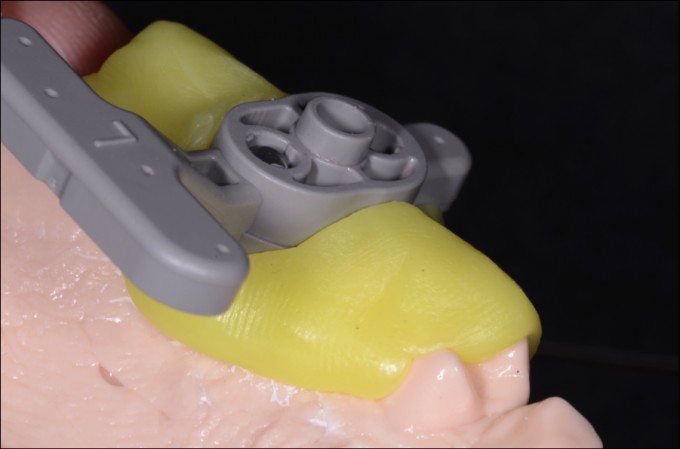
You also want the notch buried in the material as well.
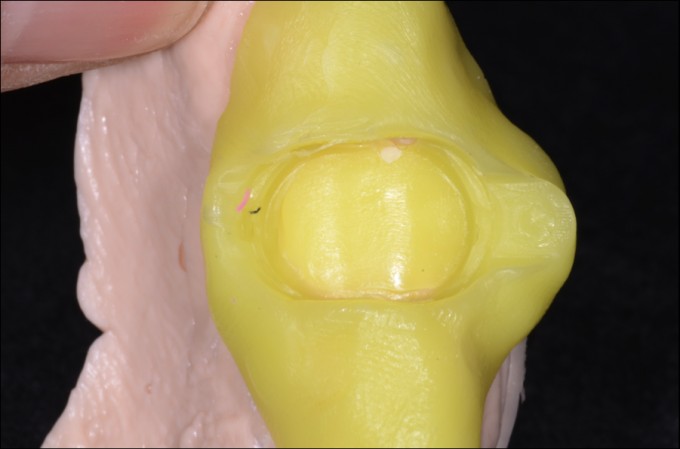
A notch the same shape is milled out on the insert that that fits into the notch in the thermal plastic. This helps orient the milled insert to the right position. When all of these points are followed you get a good impression of the reference body that allows for easy and stable insertion of the milled portion of the guide.
When orienting the reference body you may need to place the T shaped portion to the lingual in the molar region to avoid colliding with the cheek. Also with the smaller field of view with the XG3D you may need to place the reference to the lingual in the anterior, otherwise the T portion with the radiographic markers in it will not be in the field of view if the patient is placed to far forward. If this happens there won’t be enough markers for the software to recognize.
