
 Rich Rosenblatt
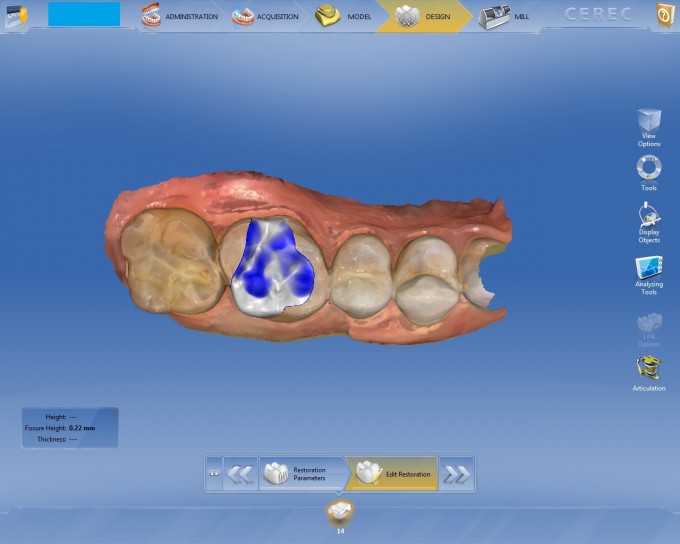
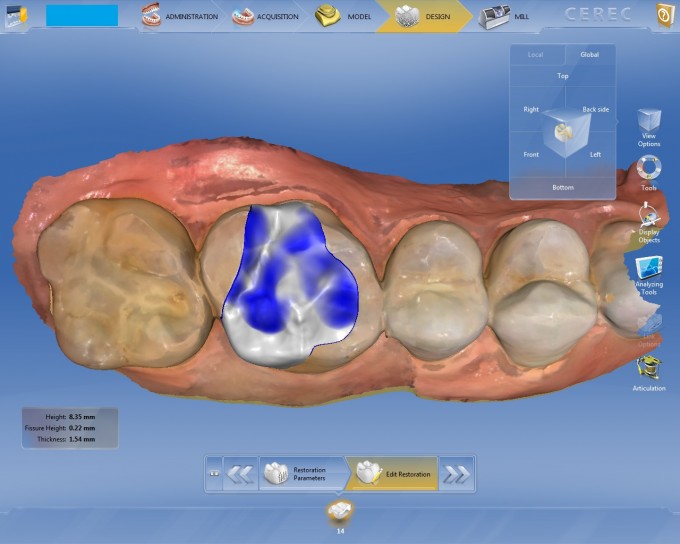
 I love to do partial coverage restorations with my CEREC. I like the conservative nature of saving tooth structure. When I teach people how to design them, there is one phenomenon that tends to happen and it can make the doctor nervous until they understand what is happening. The first thing I tell any doctors to do when they get a restoration proposal is to check the fissure height using the cursor details. We generally want our crown or onlay to be 1.5mm thick at the central fissure. Notice what happens when I check the fissure height on a recent onlay I did on tooth #14.
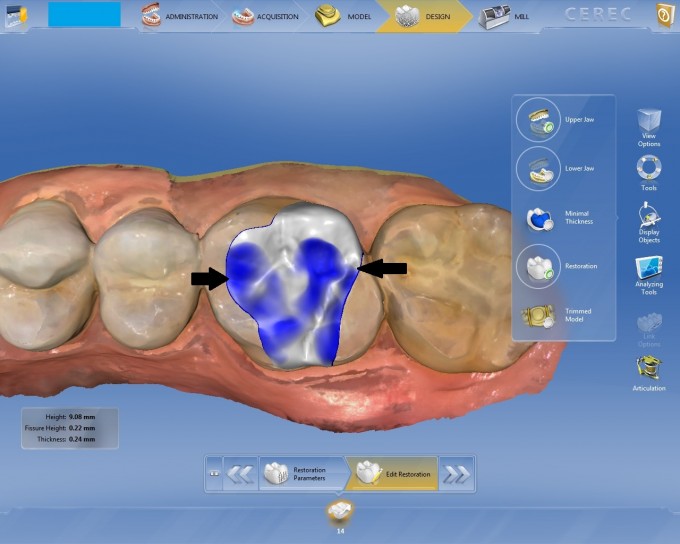
 I continued to follow the fissure line toward the occlusal cavo surface margin and saw the thickness measurement beginning to plummet. This is because as you get close to that enamel wall, your measurement is being measured from the surface of the restoration to the tapered wall that you prepped instead of the floor of the prep. This can lead to miniscule fissure height readings.
 One thing that I like to do besides looking at the tooth down the long axis and running my cursor around the fissure line at the thickness, is to turn my restoration transparent. I will do this by turning off the minimal thickness bubble and then making the restoration moderately transparent and looking from the buccal and lingual to see visually that I have enough thickness of material from the fissure to the floor of the prep.
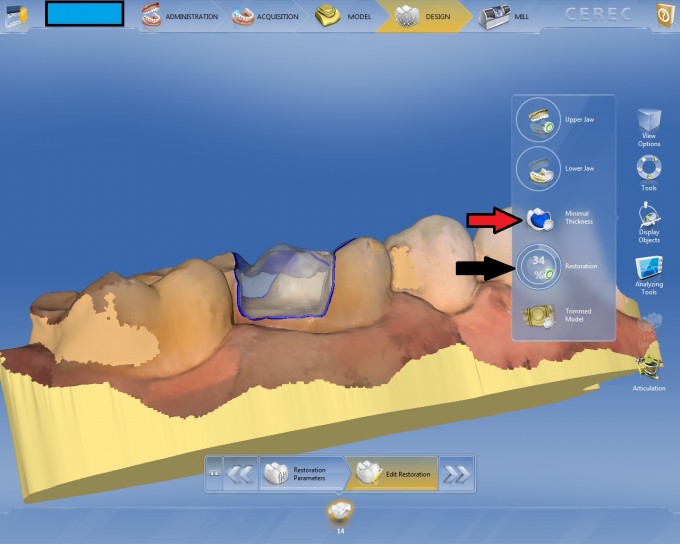 To turn your restoration transparent, you need to go to display objects and then move your cursor near the green dot of the restoration. You will see a thick circle appear. Hold down your mouse button and move your track ball up or down to modify how transparent the restoration becomes. It is a nice tool to be able to evaluate how much room you have between the bottom of your prep and the lowest point of your restoration.