Rich Rosenblatt
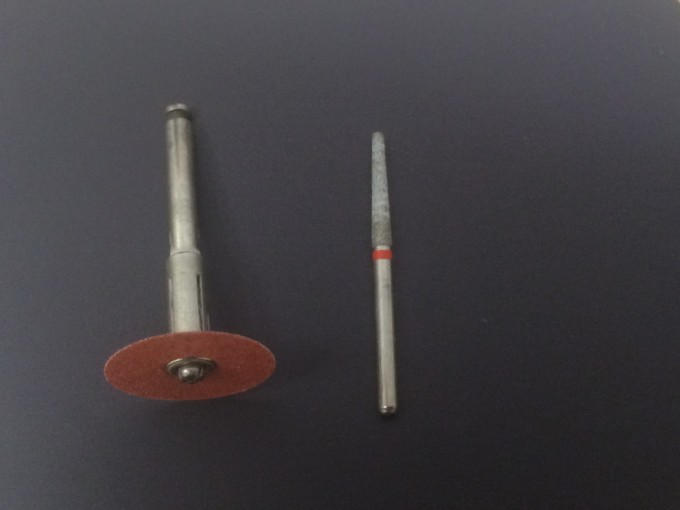
 One of the most annoying things we have to deal with during the design of a restoration is the less than ideal contact areas. I find that three things tend to cause this. The first is lack of information captured in the contact area. When using the Omnicam, make sure that you capture as much true information as possible. The second issue can be when the adjacent contact area has a big concavity or convexity or a combo of both. I like to use a fine diamond bur to flatten or broaden up that adjacent tooth and then have a nice area to design against. The third scenario is the most annoying. This is when you nick the adjacent tooth with a bur. This creates an irregular surface on the adjacent tooth and the machine will try to fill in those bur marks with porcelain. The contact area will then have a multitude of colors in the vertical direction where the bur marks on the adjacent tooth are located. When you try and smooth the vertical red stripe out, all the rest of the contact disappears and then you add virtual porcelain to bulk back up that contact and now the shape is highly irregular again and will likely trap plaque. I strongly recommend to users to evaluate your adjacent contacts before imaging the final prep and to get in the habit of smoothing and slightly flatten those contacts for a much easier design. Use a 3M Sof-lex disc to smooth out the adjacent tooth so you can get a nice area to design to. This has really helped me consistently decrease my design times by not having to compensate for the less than ideal condition of the adjacent teeth. Its not always about the prep and the margins. Sometimes we need to see the forest through the trees.