Don't forget the Maryland bridge!

We all have these patients in our practices. They present with lower anteriors that are stable, but have moderate-severe bone loss and some mobility. Options for treatment might include electively extracting the teeth and placing a tooth-supported fixed bridge, an implant-supported fixed bridge, or simply watching the teeth until something happens. My philosophy is conserative for cases like these, so we watched the area for about 2 years, and the day finally came where my patient was experiencing pain due to resorption on #25.
We discussed electively removing #23-26 and placing 2 implants for a 4-unit bridge, but the patient was concerned about finances. A 3-unit tooth-supported bridge was out of the question since the adjacent teeth are periodontally involved. Because of the CEREC, we were able to offer another treatment option --- the Maryland bridge.
I decided to do a single-wing Maryland bridge. Due to the severe crowding, I prepared the buccal surface of #24 (instead of the lingual). I used Biocopy (imaged the pre-existing tooth prior to extraction) as the design technique. The area was restored with Emax LT A3.5 (size 16 block). I used the Meisinger kit to add surface characterization after the restoration was milled, and I used a fair amount of staining to mimic the adjacent teeth. The milling took about about 20 minutes, and the firing time was 24 minutes. The total time for the whole case (extraction + restoration) took less than 2 hours.
These cases are very predictable, and it’s a great service for our patients who cannot afford the alternative treatment plan.
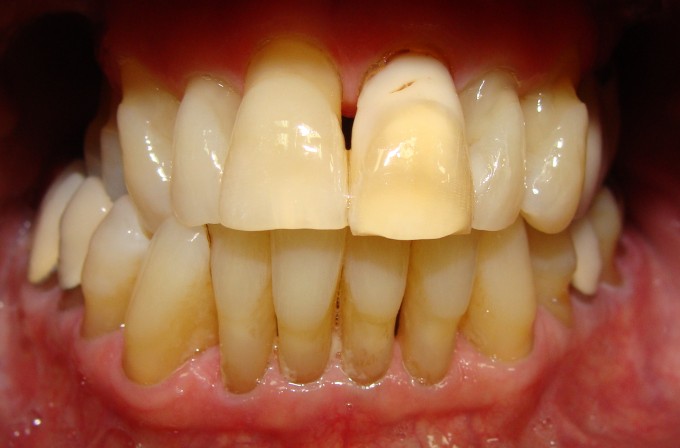
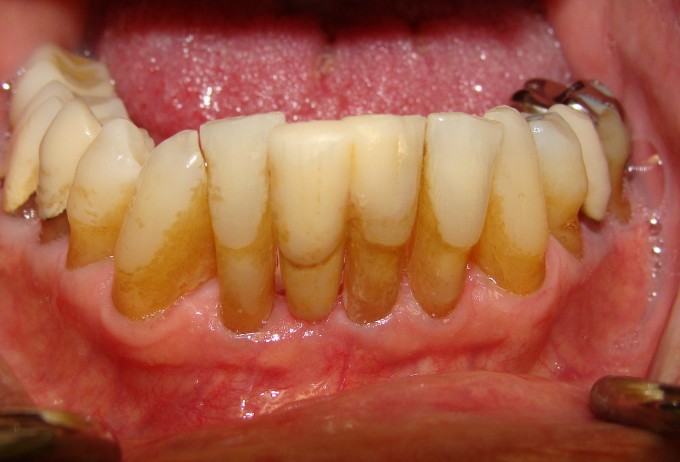
Here is the pre-operative clinical view of the teeth 1 month prior to treatment.
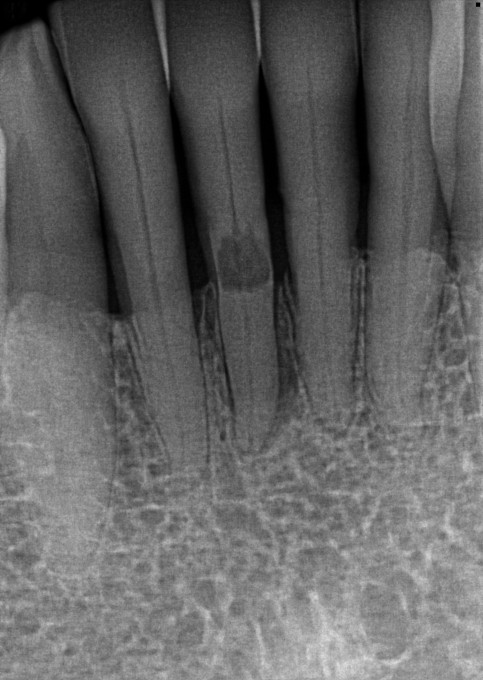
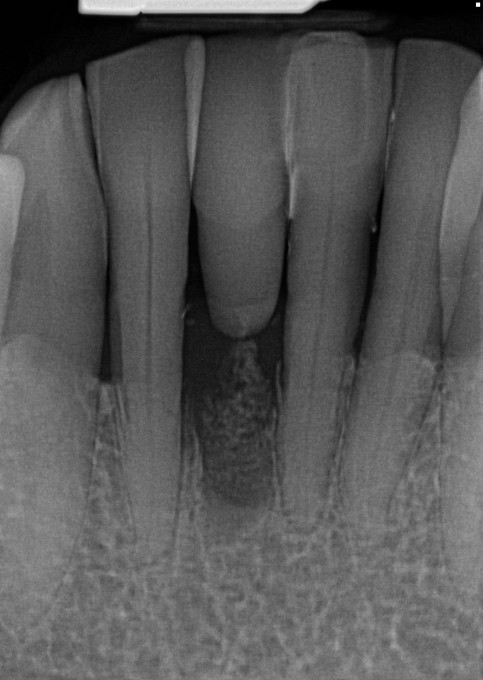
The pre-operative radiograph clearly shows the resorption which was the source of the patient's discomfort.
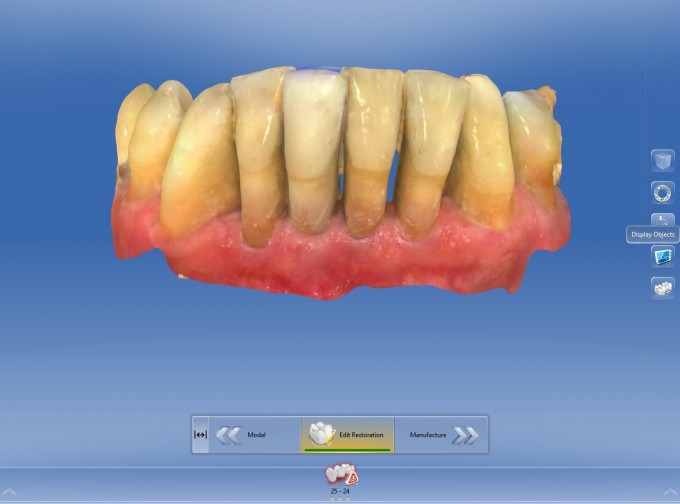
The biocopy image was taken to maintain the original position of the tooth
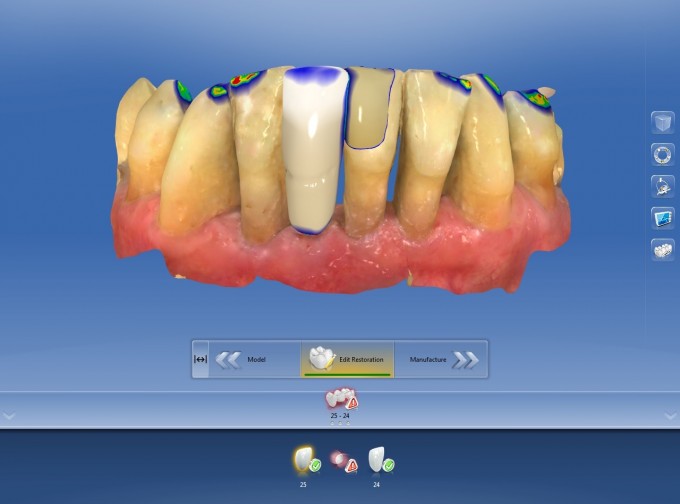
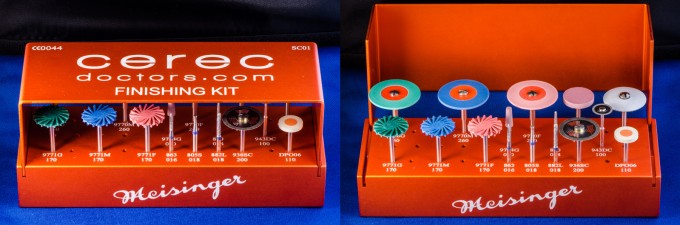
The restoration was designed to about 75% completion. Using the Form Remove tool, I created a notch where the CEJ was to be. The remaining effects (developing the exposed rooth appearance) were created post-milling using the Meisinger kit.

Since the tooth had class 2 mobility, the extraction was straightforward and took less than 3 minutes.
Here is 1 week post-op final image of the bonded Maryland bridge.
The final radiograph


On 10/13/2018 at 5:09 am, Barry Rimmer said...Did you think of simply bonding tooth back in ?
That is definitely an option. I did not consider doing that in this case.
Just curious, when the tooth was extracted did it turn out to be external or internal resorption?. The radiograph does show what appears to be a periapical abscess.
On 10/15/2018 at 8:34 am, Gary Templeman said... Just curious, when the tooth was extracted did it turn out to be external or internal resorption?. The radiograph does show what appears to be a periapical abscess.
It was external. There was a fairly large communication through the root about 3mmx3mm. In hindsight, I wish I had taken a picture of it.