
Infiltrated Zirconia Abutment case... full protocol

I have been posting a lot lately on infiltration... tried it today on a zirconia abutment (Incoris F0 Meso). There is a of pictures here.. but I thought I would post a full protocol!
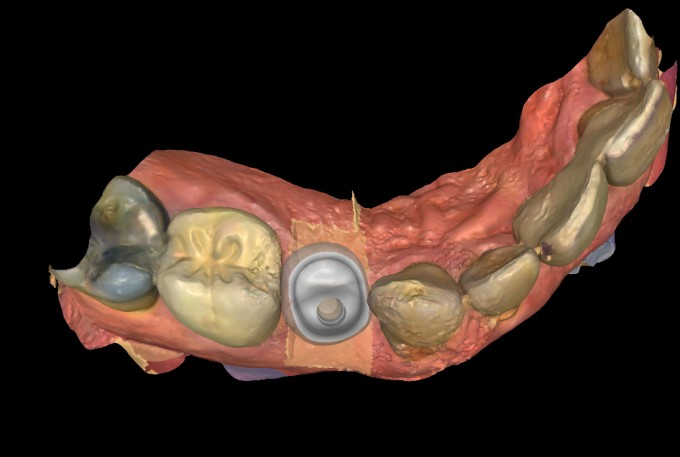
Initial Situation. Heroic "try" with aggressive prep. We knew it would not work long term... was done 9 years ago
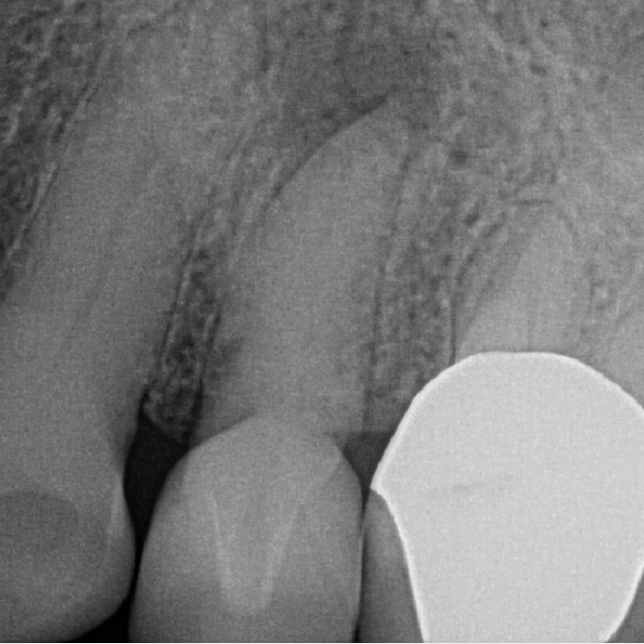
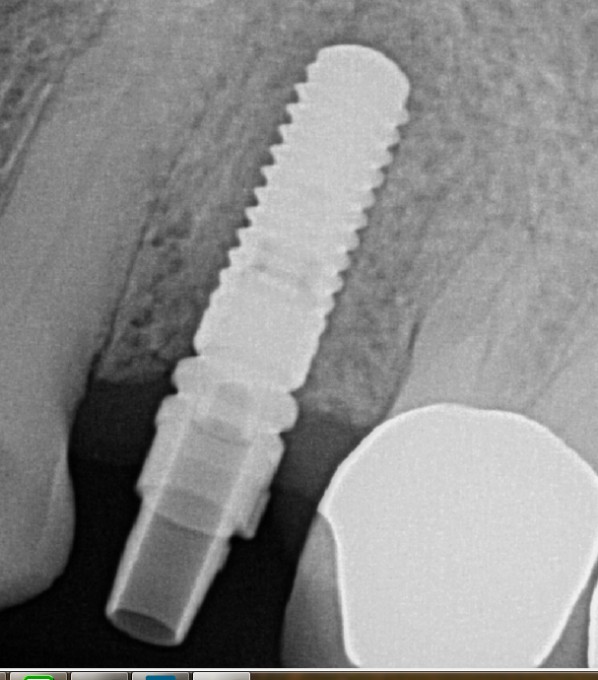
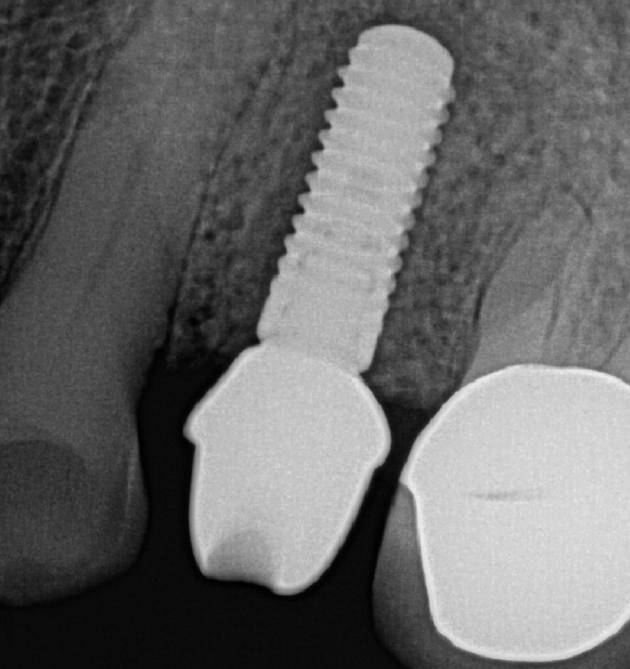
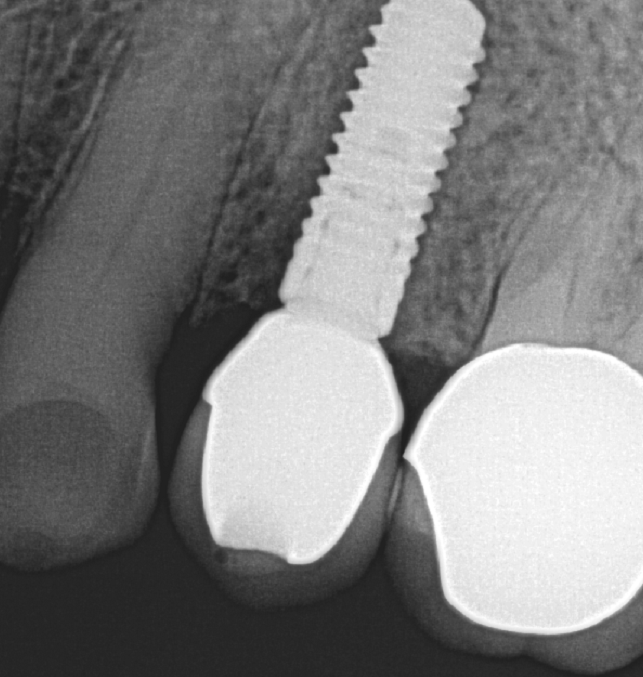
Implant plan on #12. Based on the plan and screw access, I knew I was going to do a screw retained restoration.
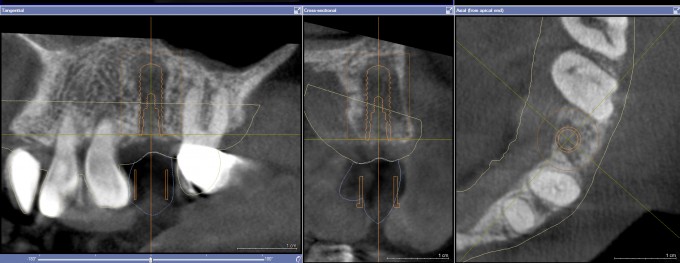
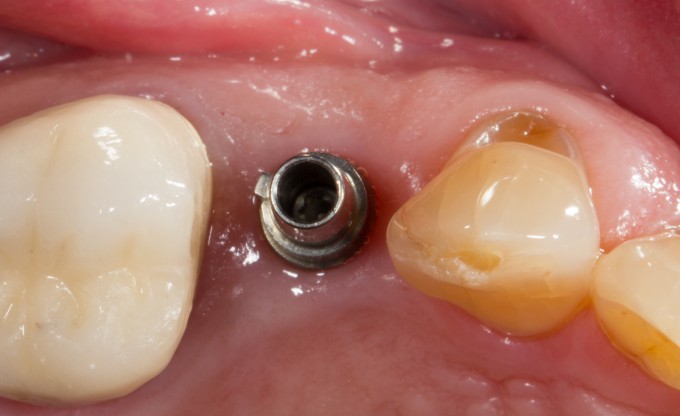
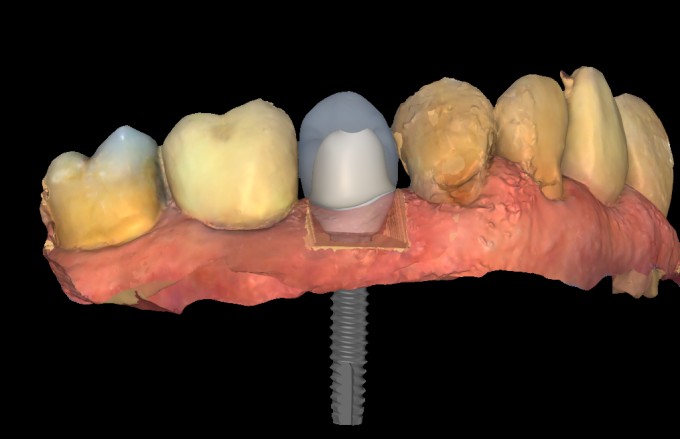
Healed implant 5 months later ready to restore:
Took images into CEREC

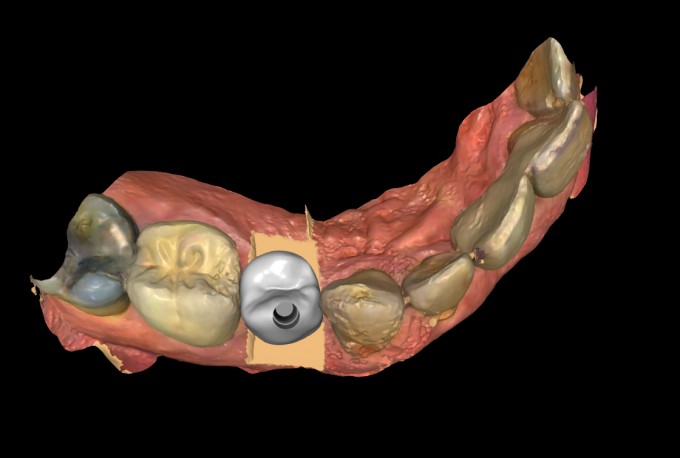
Final design... notice position of screw access compared to initial Galaxis plan:
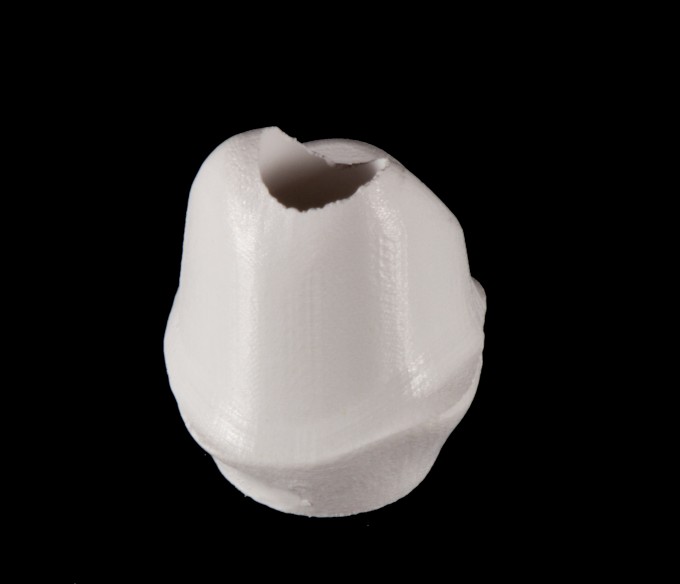
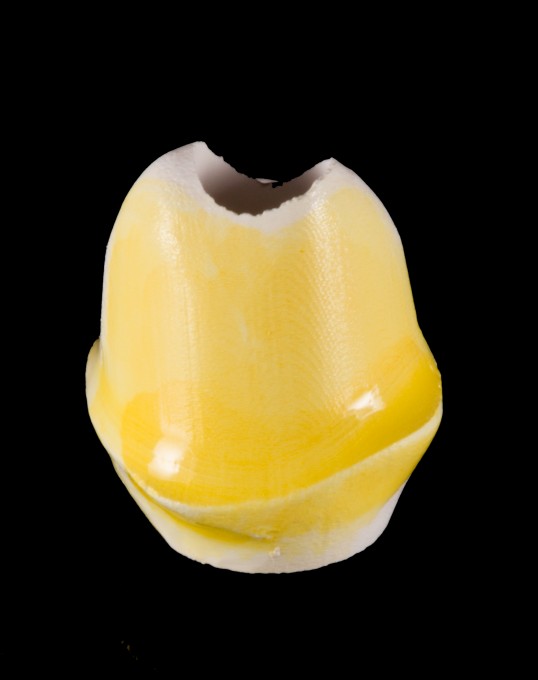
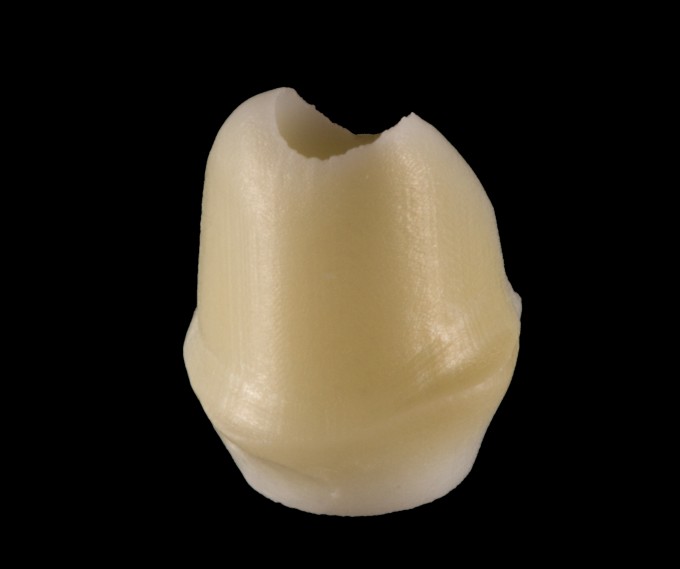
Milled abutment:

Infiltrated with A3 Vita Liquid:
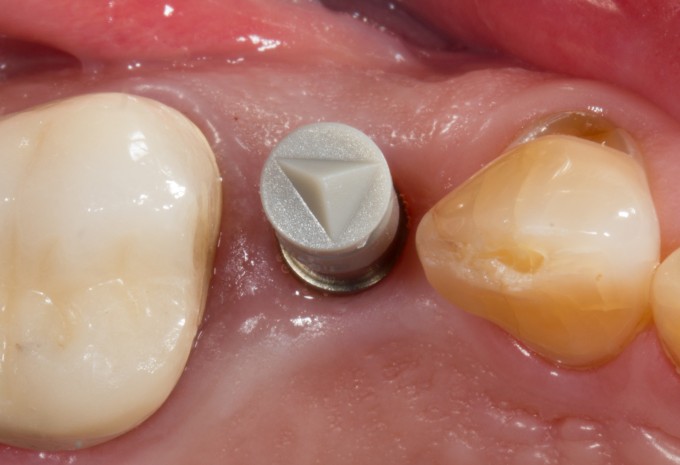
Sintered in SpeedFire:
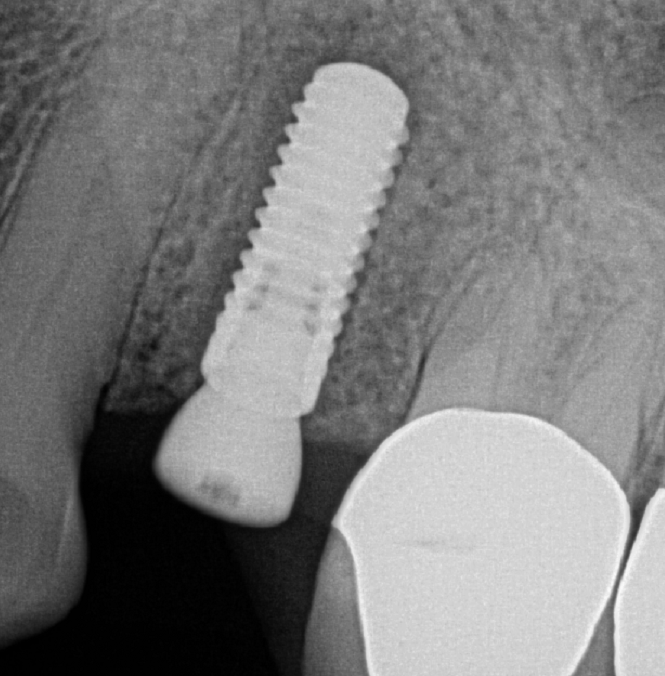
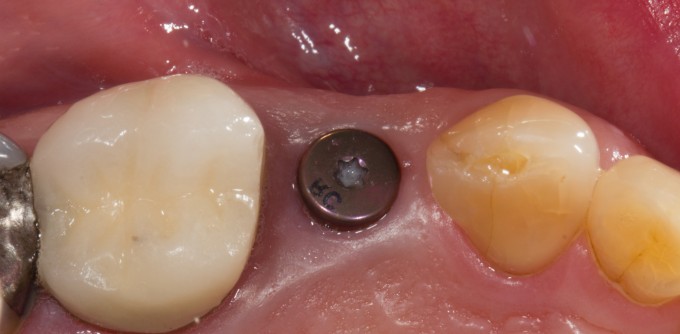
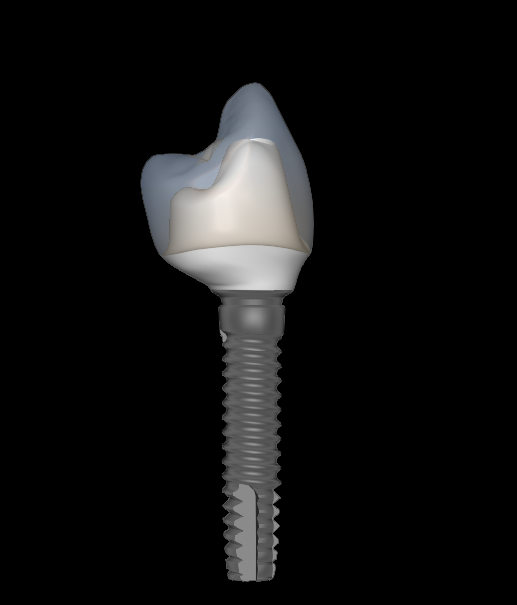
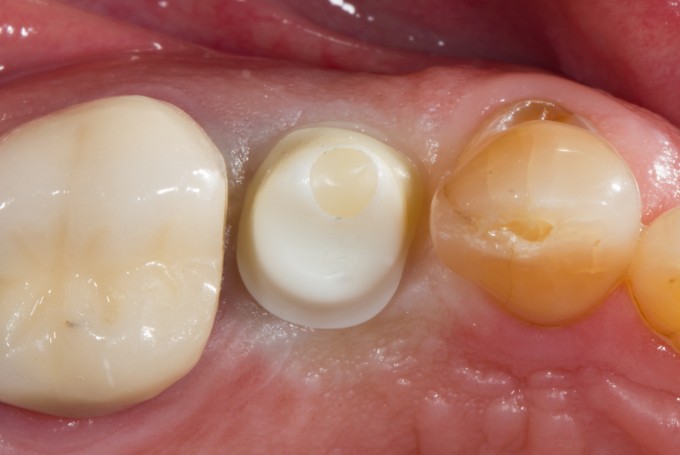
Torqued into mouth:
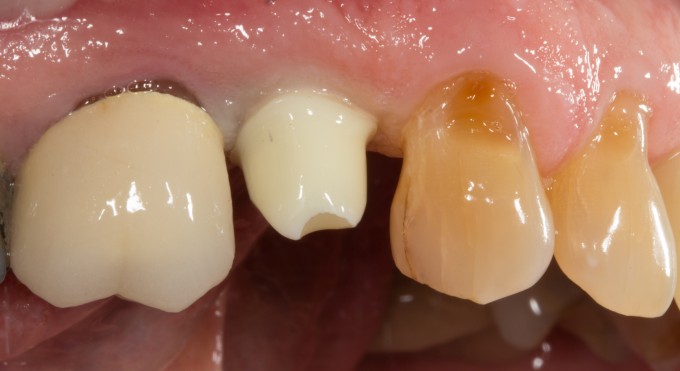
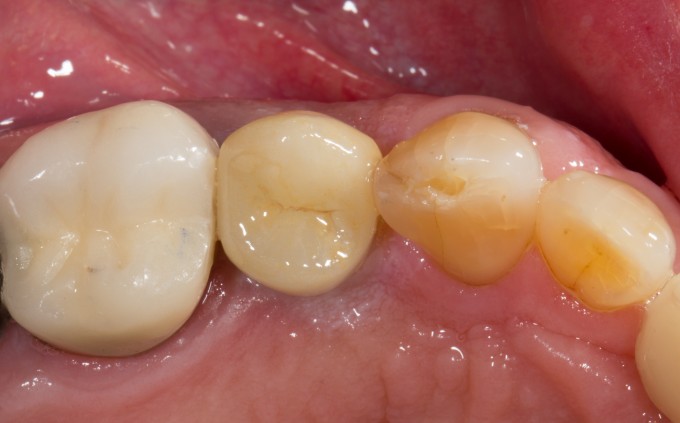
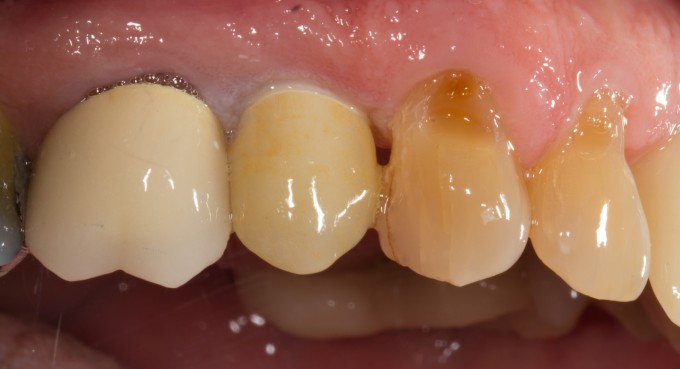
Final:

Mike, what is your protocol of infiltration? When do you know when to stop? trying different infiltration liquids which one do you think gives better result?
Why don't you use F shade? Gregory
On 1/18/2017 at 2:01 pm, Gregory Mark said...Mike, what is your protocol of infiltration? When do you know when to stop? trying different infiltration liquids which one do you think gives better result?
Why don't you use F shade? Gregory
Long story short is that i'm not sure yet. I've tried the Vita YZ HT, White Peaks, and Zircon Zahn liquids. They all work. I am feeling that the Vita liquids may be a bit more predictable...
When to stop is the hard question and i'm still working on it. There are protocols in place when you infiltrate a "white" substrate (like Vita YZ HT), but there is much more painting to do and time. When doing the precolored blocks, you don't have to do as much, but you also risk doing too much if you are not careful (what I have been doing). i think you just need a little bit with the precolored blocks to help with transitions, lowering value, and warming them up a little bit.
I easily could have done the F2 shade, but I did the F.5 shade because I wanted to customize it a bit more to a certain shade (in this case A3). The F2 can get a little bit chalky.
Just practice I guess is what we all need to do.

Mike- looking at the body shade of the Vita liquid-- is that have any colorizing liquid added, or it just easier to see? If there's one area I've fussed with more with the Empire product, its' judging the intensity of the cervical portions with the amount I apply....
Mark
On 1/18/2017 at 2:23 pm, Mark Stockwell said...Mike- looking at the body shade of the Vita liquid-- is that have any colorizing liquid added, or it just easier to see? If there's one area I've fussed with more with the Empire product, its' judging the intensity of the cervical portions with the amount I apply....
Mark
No... that is the actual shade of the liquid. You can add color, but it would help more for the chroma liquids because they are lighter. The base shades are very yellow and the blue is very blue. That's what I mean about the Vita... less technique sensitive. but it's still intense... have to be careful. I added a little bit more because this abutment was not precolored at all.
