
CEREC Scheduling for Success for the New User

I was doing a basic training last week and I received a question that I hear often from new users…..”How should I schedule my CEREC appointments when I get back to the office?” I tell all new users to schedule for success. What that means to me is that the new user must understand that things initially will take a bit longer since they are learning something new and they need to schedule accordingly. Trying to stay on time is not easy in a busy practice. Throw in some new technology for the team to try and master and it can add some pressure. My suggestion to my docs is to do one of two things. My first suggestion is to schedule about 2 hours for your first cases and schedule them up against your lunch and the end of your day. By doing this, if you run late, it will cut short your lunch or you may stay a bit later, but at least your schedule won’t have added pressure. The other suggestion is to book it on a day for the first month that you are not usually in the office and do three or so cases when there are no interruptions like hygiene checks and emergencies.
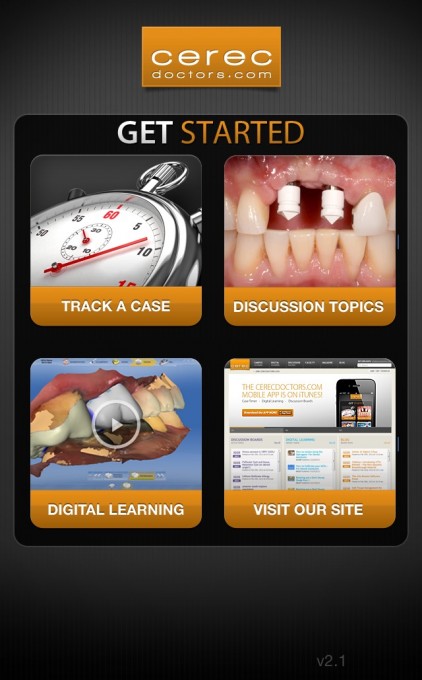
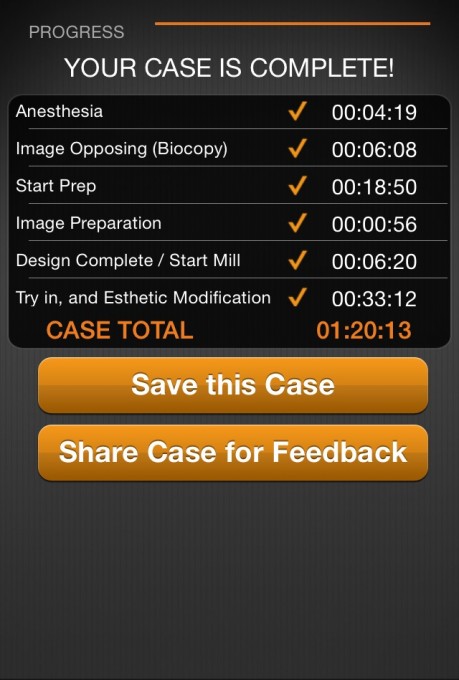
The other recommendation I have is to download the cerecdoctors.com app and use the “Track a Case” application. This will allow you to time each aspect of the CEREC appointment such as anesthesia, imaging time, prep time, design time, milling and cementation. You will get an idea of what aspects of the process you are progressing well with and what areas you may need to work on. It is a very handy tool to help you improve necessary aspects of the CEREC appointment. Once you get an idea of how long your appointment is taking, you can then start scheduling more procedures and also understanding that in the milling and characterization aspect of the appointment, you can start to schedule other dentistry to maximize profitability.
Great points!
A lot of Docs sweat the perceived lack of production when booking extra time for the procedure. Consider the extra time spent on the first several cases an investment in your education. It is so much more pleasant to learn when there is less pressure to get the next patient in.
Bob, lots of time we think that the biggest resistance to acceptance is learning curve. In a way with scheduling that is true. Many offices are dialed in on how long stuff takes them to do and how to schedule it. They really fear this technology can toss a monkey wrench into that and it can paralyze them
As a new user myself, the one thing I would add is to choose easier cases first. From easiest to hardest (for me and my team)
1) full coverage crowns - easiest by far to image, prep, design and seat. Keep your margins supragingival and they are cake.
1b) implant crowns on stock or lab made abutments. Sandblast them first, use extraoral camera mode, or powder them, and it's basically like doing a normal crown from there.
2) one or two cusp onlays - sometimes these are the easiest of all, especially if the patient comes in with a cleanly fractured cusp.
3) crownlays - all cusp onlays that are billed out as crowns but have intact buccal and/or lingual surface.
4) implant supported hybrid abutments and crowns - no one step is very hard; there are just a lot of them.
5) inlays
