
CERECGuide Fabrication Part 6

For this the final blog on CERECGuide fabrication it is time to put all the pieces together. The thermal plastic stent is made and we have the milled guide fabricated. Now all that needs to happen is to put the guide in to the stent.
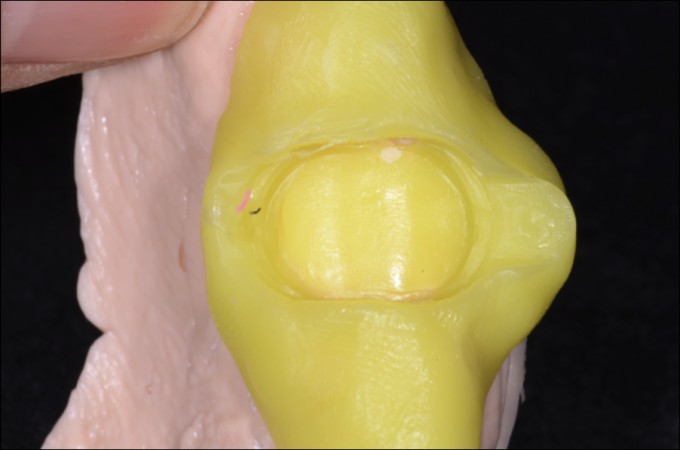
First the sprue needs to be removed. Once that is removed the milled guide is placed into the thermal plastic stent. It indexes with the notch that was on the radiographic reference body that is now impressed into the thermal plastic.
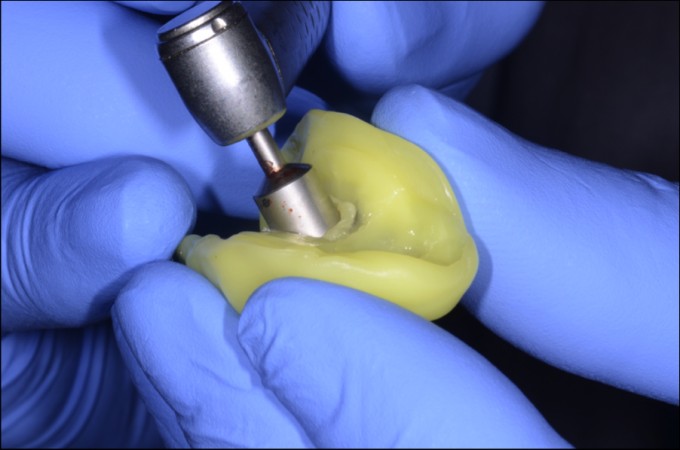
Now that the guide is in place, a hole needs to be made so the drills can pass through without hitting the plastic and possibly carrying some of it into the osteotomy. The best way to do this is to use a tissue punch in a slow speed hand piece at very low rpm’s. To make sure the plastic doesn’t distort, place the guide or the radiographic reference in the plastic stent first.
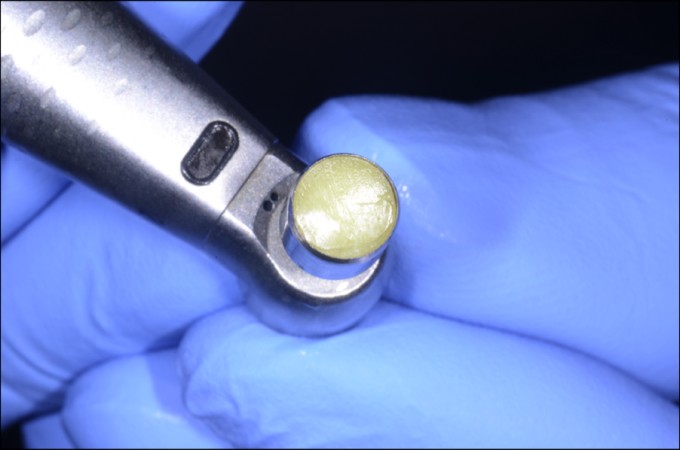
A perfect little plug is then made that allows the drills pass through. Use a punch that is big enough to give plenty of clearance for your respective drill.

By following the steps that have been outlined in these blogs, the fabrication of the CERECguide will become efficient and predictable.

Thanks for sharing. How well with work for placing an implant into a 2nd molar site? How much clearance(jaw opening) will be needed?
Richard any time you try and do guided surgery in a second molar it gets tough to get the long drills that far back. It can be done but it depends on the ability of the patient to open. Two things can be done. One is start the osteotomy with the shortest drill just to get most of the angulation then just finish to depth. The other is to assemble everything outside the patients mouth and then place it in position. The first is much less cumbersome than the second.
